
I had a little shopping splurge last shopping trip. It has been a little while since I have bought some new clothes. I managed to find a couple of new items that I can wear out or at work. I also found a few items that are going to be perfect for casual wear or to wear when I am being more active. When thinking about clothes, I tend to move towards shades of blue, green or brown as I know that these colours suit me. I felt particularly adventurous and ended up buying a fluro orange top - stepping a long way out of my colour wheel! I go through a similar process when I am creating my lovely 'princesses' as each of them are different.
I love creating each 'princess'. I love starting with bits of old book page, then cut and shape it to create a girl image. Before too long a new princess is created with her own style and personality. There are many things to think about. I thought that I would share some of this process with you ...


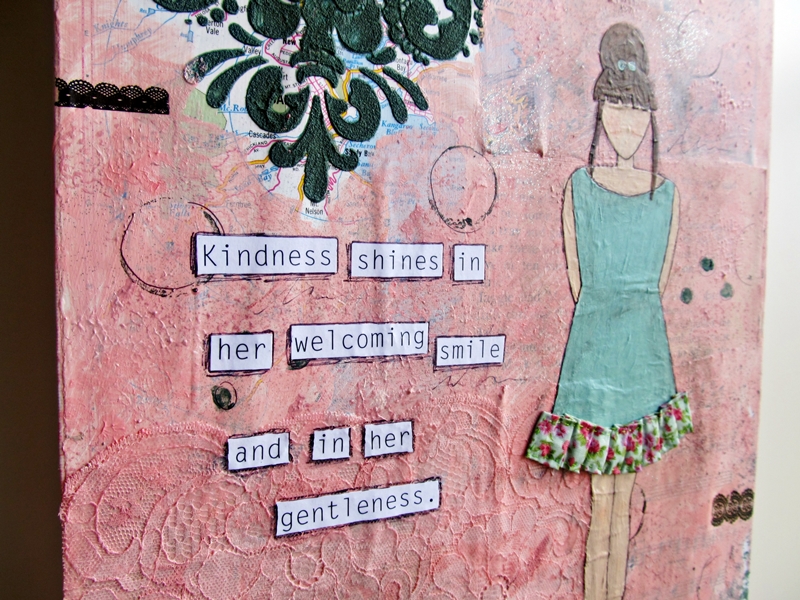
Firstly, I think of a theme which usually incorporates the background colours. I think about 'What emotions or qualities do these colours evoke in me?'. With my latest princess canvas, when I looked at the pastel pink and emerald green colour combination, I thought of 'kindness', 'welcoming' and 'gentleness'.
I then sketch my princess in my Art book, keeping these qualities in mind. In this instance, I thought about 'What would a kind, welcoming, gentle girl wear? What would her hair be like?'. I also think of a suitable quote to match.
When I am finished developing my background on my canvas, I then begin 'creating' my princess. I cut out all aspects of her body, clothing and hair out of book pages and layer them on the canvas and adhere them. I then paint her all white. I then make the dimensional aspect to her clothing. In this instance, I created the pleated ruffle that would highlight the bottom of her dress.


Before I do much more, I need to paint my princess. I think of a colour that compliments the background and use it for her dress, ensuring that it matches the fabric component of her dress. I then add the skin colour, ensuring that it compliments the colour chosen for her dress. At first I made my princess' skin colour too warm which clashed with the blue/green, cool colour of her dress and I had to alter it. I find it amazing that each of my princesses have their own colour wheel too!
I then add her hair colour and her rosy cheeks. I finish my princess off by adhering the fabric feature, drawing details and adding shadows/highlights. I then have my finished princess.


I painted this princess canvas on a slightly larger canvas, giving her a little more room. If you wish to view this canvas or anything else in shop, please click here.
Thanks for viewing!
~ Jen.
P.S - If you have enjoyed reading about what happens 'behind the scenes' at Tupsy Turvy Designs, why not become a 'Golden Ticket Member'? It is FREE and membership entitles you to regular updates, exclusive sales, discounts and opportunities. Simply click here and enter your email address. Easy! I look forward to sharing more ideas with you soon ...
No comments:
Post a Comment
Thanks for viewing my blog! Please leave a comment...I would love to hear from you. I read and respond to comments made. Thanks again!